
Close


Illuminated Letters
Lesson Plan, Grades 6-12, Art, Art History, Drawing
Description
Lesson Plan & Artwork by: Joe Culotta
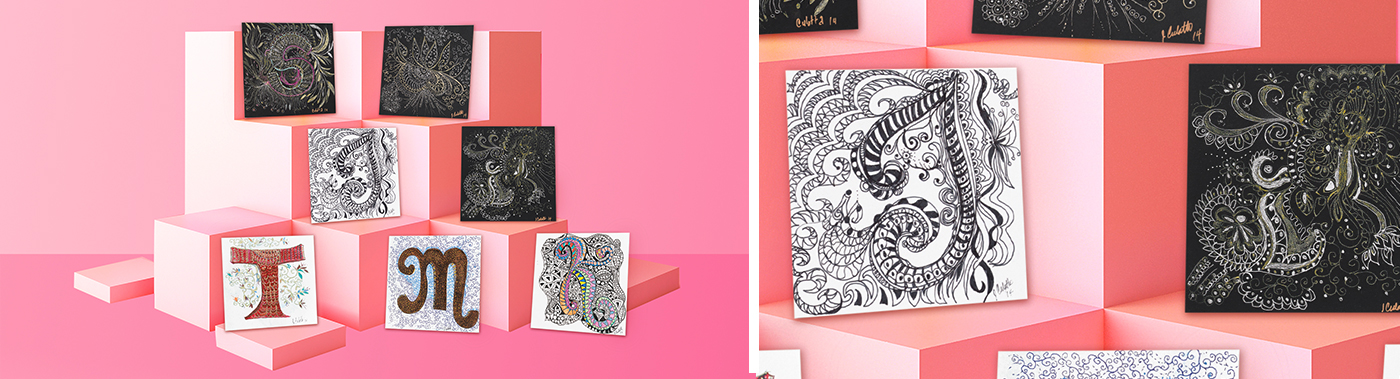
The oldest forms of ornamentation consisted of geometric figures, small circles, bands, as well as straight and curved lines, all of which were drawn with regularity and according to a certain rhythm. This lesson should incorporate the use of pens, pencils, or brushes to develop pattern drawing and meditative art, while using the style or ornament in lettering to capture the essence of illuminated letter design.
Objectives
- Students will study the history of illuminated letters and manuscripts.
- Students will understand the use of line design to execute a drawing on an artist tile 4" x 4" or 6" x 6".
- Students will use line design to create their own letter with addition of embellishments.
Supplies Needed
Black 6" x 6" 1472486
Bristol 4" x 4" 1472482
Bristol 6" x 6" 1472483
Sketch 6" x 6" 1472487
Watercolor 4" x 4" 1472484
Watercolor 6" x 6" 1472485
Sakura® Gelly Roll® Moonlight Pens, Set of 10 402356
Sakura® Gelly Roll® Metallic Pens, Set of 10 459056
Sakura® Pigma® Micron® Pen Set, Black Set of 6 398702
Sakura® Pigma® Micron® Pen Set, Color Set of 6 244137
DecoColor® Glitter Paint Markers, Set of 6 409065
Sharpie® Extra Fine Permanent Markers, Box of 12 077411
Y&C® Gel Xtreme Metallic Pens, Set of 7 409246
Liquitex® Professional Acrylic Ink, Essential Set of 6 1398008
Liquitex® Professional Acrylic Ink, Metallic Set of 6 1398009
*Here are the supplies needed for this lesson plan for reference. Find a convenient carousel of shoppable products for this lesson below.
Standards
Standard #1: Generate and conceptualize artistic ideas and work.
Standard #2: Organize and develop artistic ideas and work.
Standard #3: Define and complete artistic work.
Standard #5: Develop and refine artistic work for presentation.
Instructions
1
Students will research the styles of ornamental/illuminated letters from medieval manuscripts.
2
Students should draw the letter of their choice on the tile with a pencil. The letter should have space around it for additional embellishments or any other type of design the student wants to use.
3
Students should choose a theme for their embellishments. Common themes include plants, vines, animals, and mythical images. Students can lightly sketch the embellishments around the letter with a pencil. Erase and redraw any mistakes until the student feels the images are satisfactory.
4
Color can be added to the letter using gel pens, metallic pens, and glitter paint markers.


